Creating an Email Template
30/05/17 - Ref A1360
With the template email feature, after setting up the template, you can generate emails at the click of a button with no need to type repetative text, and with Job Tracker Professionals ability to automatically insert data, these emails can be personalised too.
From the home screen of Job Tracker Professional:-
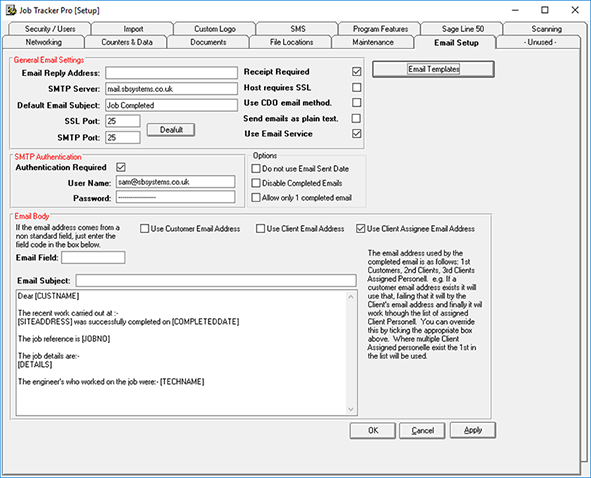
- Click on ‘Control Panel’
- Click on the ‘Email Setup’ tab.
- Click on the ‘Email Templates’ button
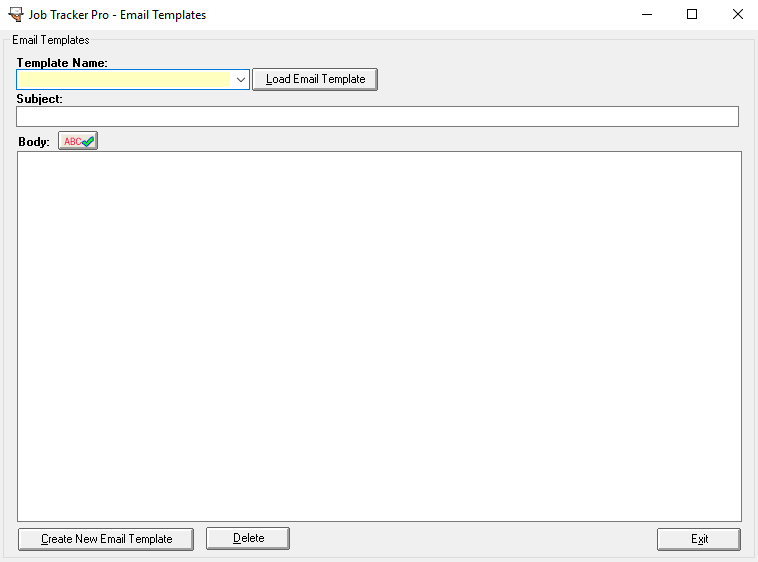
Click on ‘Create New Email Template’ in the bottom left of the screen
Within the 'Template Name' field enter something relevant to the purpose of the email.
Within the 'Subject' field, enter the subject of the email as you would like it to appear to the recipient.
Within the 'Body' field, type up the email as you would like it to be displayed to the recipient.
You can use HTML codes to add formatting such as bold or colours.
Click on the 'Save Email Template' Button displayed in the bottom left of the screen.
Click on the 'Exit' Button displayed in the bottom right of the screen.
Within the Body and Subject field, you can place in field codes that will automatically insert the relevant information from within Job Tracker into the email. For more information on which field codes to use click here
To check that your Email Template is set up correctly, go back into the home screen of Job Tracker Professional and click on ‘Contacts’. In the middle of the screen you will see an ‘Email’ field, click the ‘Send Email’ Button to the right of it.
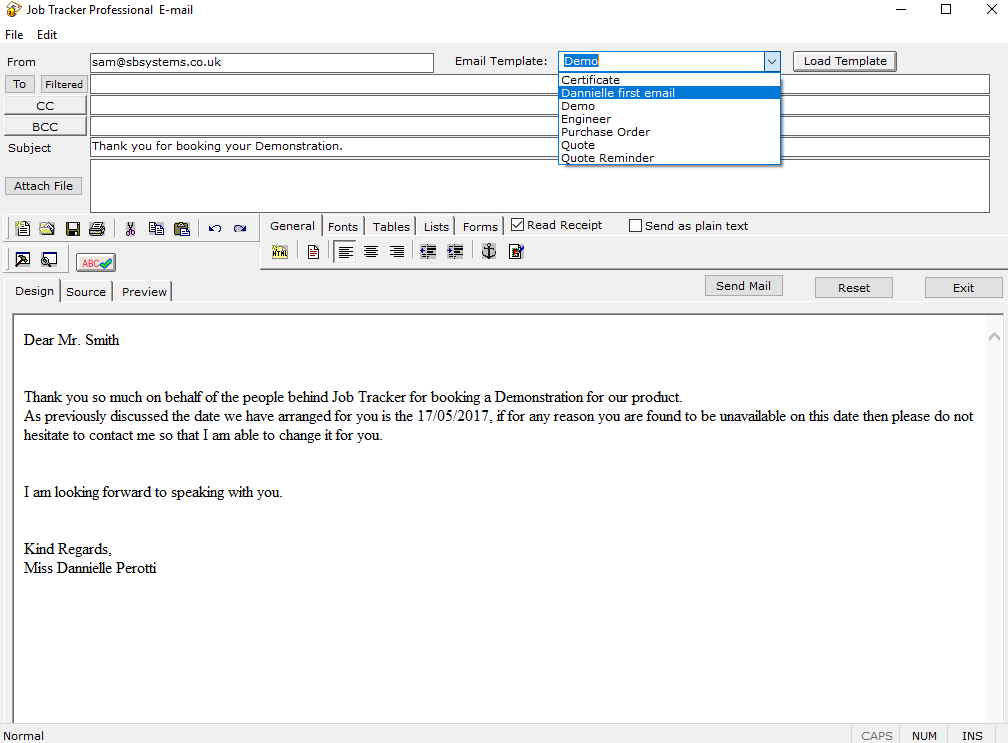
In the ‘Email Template‘ field in the top right, click the drop-down arrow and select which Template you would like to use.
Click on ‘Load Template’ in the top right of the screen.
This will present your Email template in the exact way a customer would receive it. In order to make sure that you don’t acidently send out the email when checking it then click the ‘X’ icon in the top right once it has loaded to Exit out of it.